
A decade back I was part of a team to automate the On & Offboarding process of employees for a customer using .NET framework, it had a module to provision user accounts in an on-premise environment. I still remember having used couple of dll’s for Active directory 2003 & exchange 2007 to create AD & Email account. It was not easy but nowadays with the Office 365 in place its so easy to create account & enable different Office 365 services (Exchange, SharePoint, Yammer etc) for a user in Azure Active directory. This example will be applicable for the Organization which does not have On-premise Active directory. Organizations having On-premise active directory, the user account’s will be synchronized from On-premise AD to Azure AD. On this post I am going show you how to
- Create Azure AD account & assign license using Power Automate
- Assign License using Graph Endpoint
Create Azure AD account & assign license using Power Automate:
There is a Power Automate action Create user under the connector Azure AD which helps us to create account in Azure AD but there is no action as of now to assign individual license to a user but we can overcome this by adding the user to the AD security group which has a license assigned to it.
There is a flow action Add user to group under the same connector for adding the user to the security group, all the members of the group will get the license assigned on that group. The Azure AD connector does not return custom attributes of Azure AD. For e.g you can’t assign a value to a custom AD attribute with the Create user action, if you want to assign a custom attribute or an attribute which is not exposed in the Create User action then the account has to be created using PowerShell. There are ways to call a PowerShell script from Azure Automation Runbooks with the help of a flow action.
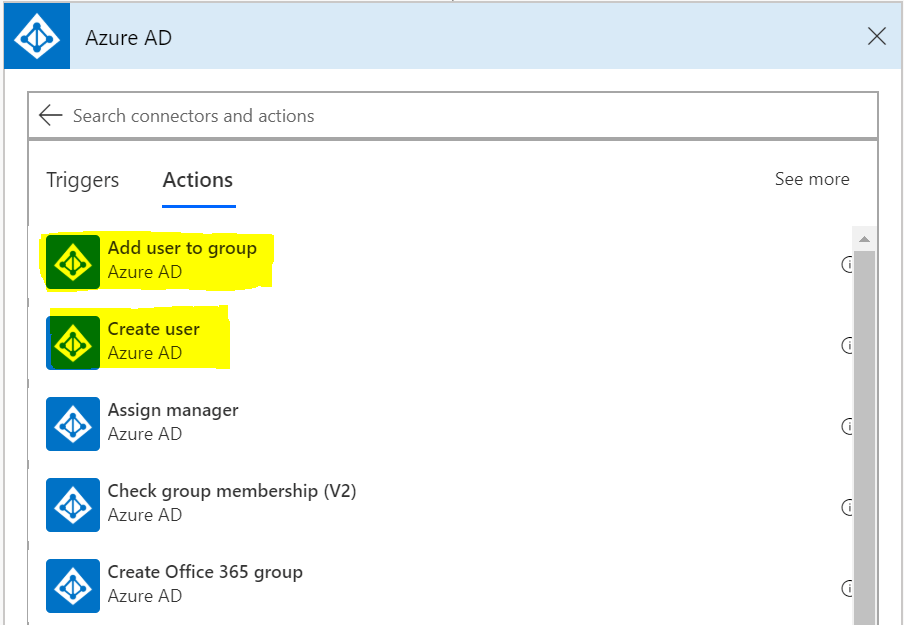
Other Azure AD actions apart from the above screenshot which could be of use are
- Create group
- Get group members
- Get groups of a user
- Get user
- Remove Member from Group
- Update user
There are templates available in Power automate template section which helps you create account based on the information from the SharePoint List, based on HTTP request etc

Prerequisite:
- Permissions on Azure AD:
- Group.ReadWrite.All
- User.ReadWrite.All
- Directory.ReadWrite.All
- Security group with license assigned
For assigning a license to Security group, go to Azure AD Admin center. Follow this documentation from Microsoft to assign license to a group.
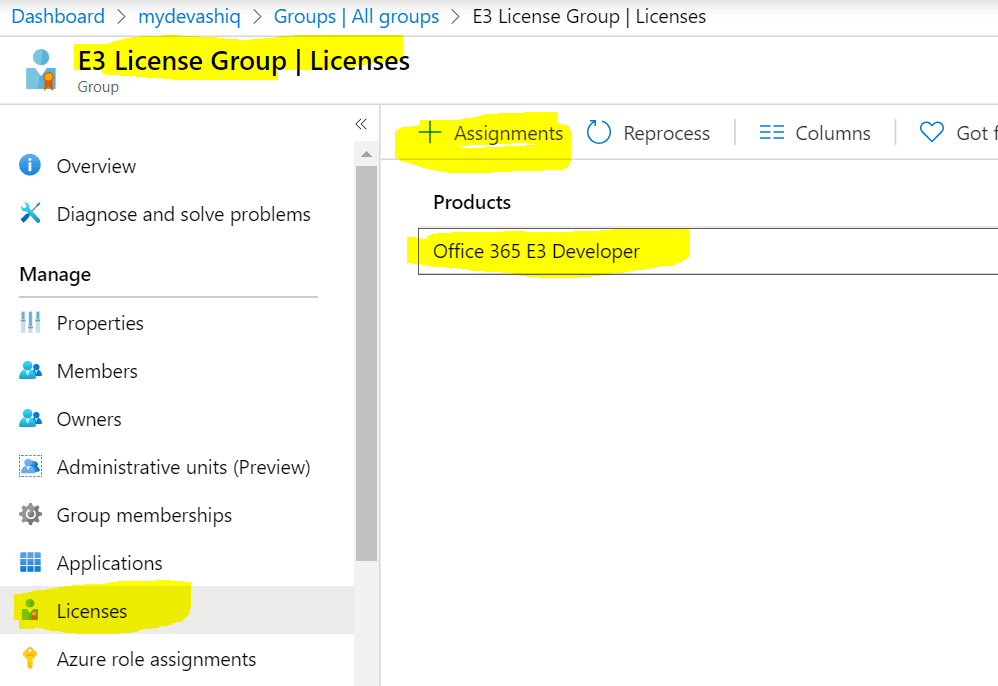
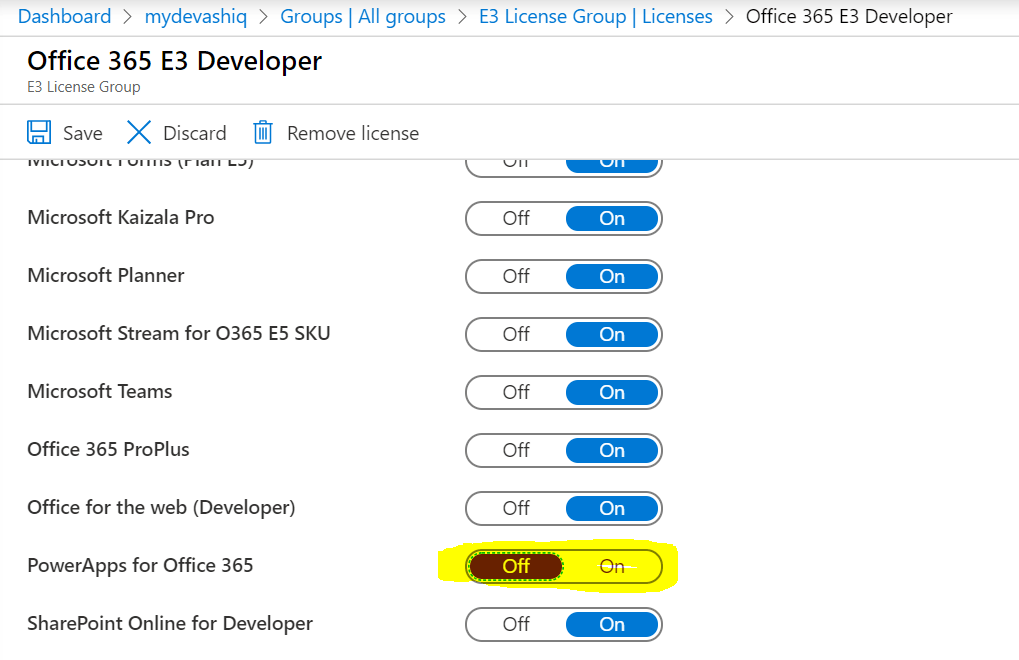
You can also turn off certain services from the license to the group, for e.g Turning off the Power App service for the user
You can also use dynamic groups for assigning license to a user, if you have dynamic group based license assignment to a user then you could ignore the step on the flow to add user to the security group. Dynamic groups works based on rules to determine group membership, for e.g if a user has an AD attribute set for Department. In this case the AD user created with certain department will get automatically added to the group which will in turn assign a license to the user.
Let’s now create the flow, I have used an Instant flow with trigger Manually Trigger a flow. Add the action Create user from the connector Azure AD

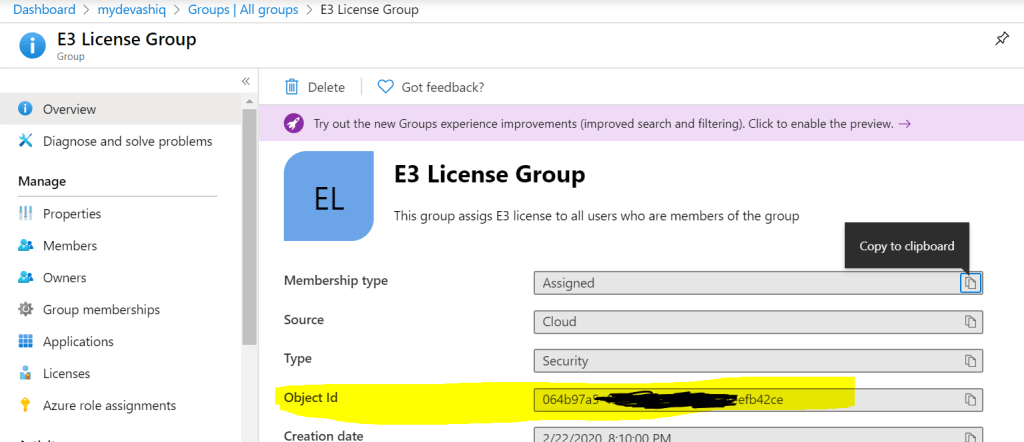
Now add the action Add user to group, the Group Id should be for the Security group which has a license assigned to it. The User Id field should be dynamic value Id from the previous action Create user.
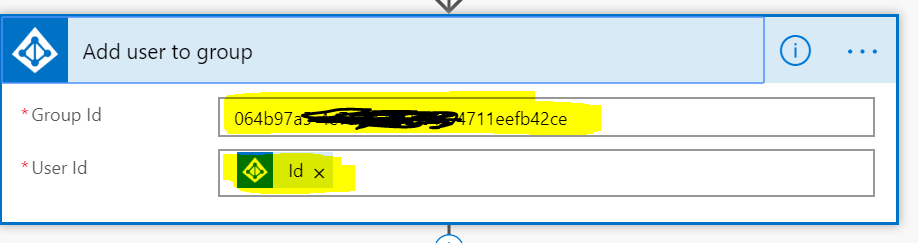
To get the group Id, go to Azure AD
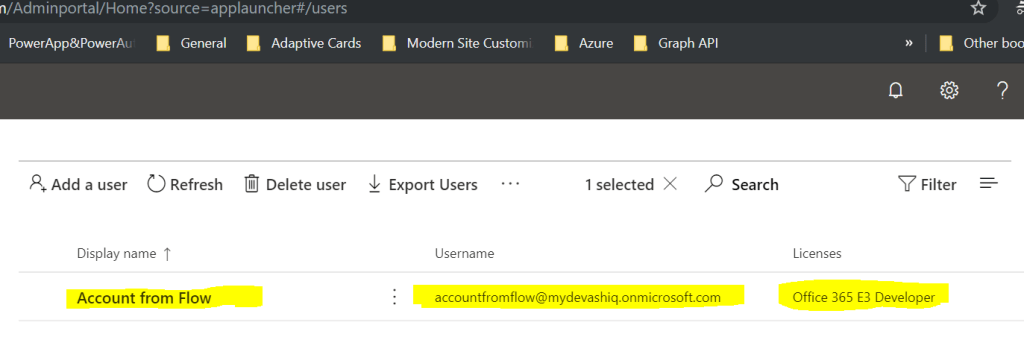
Run the flow. Once the flow runs successful the user account will be provisioned on Azure Ad with a license.
Assign License using Graph Endpoint:
There is a beta graph endpoint to assign license to a user. Find the Microsoft documentation for more information
All types of license (E5, E3, PowerApps, Power etc) has a Service Plan id also called as SKU id. Find the list of SKU id’s on this link if your tenant has procured the license for the service
To get the available service plan or SKU ID, make a GET call to the endpoint https://graph.microsoft.com/v1.0/subscribedSkus & also from the beta endpoint of the user https://graph.microsoft.com/beta/me
Once the sku id are available based on the type of license to be assigned, you will have to make a POST call to
Endpoint URL: https://graph.microsoft.com/beta /users/testuser10@mydevashiq.onmicrosoft.com/assignLicense
Request Body:
{
  "addLicenses": [
        {
            "disabledPlans": [],
            "skuId": "b05e124f-c7cc-45a0-a6aa-8cf78c946968"
        },
        {
            "disabledPlans": [],
            "skuId": "a403ebcc-fae0-4ca2-8c8c-7a907fd6c235"
        }
  ],
  "removeLicenses": []
}
The first SKU id is for Enterprise Mobility & Power BI (Free)
To remove the license for a user, use the collection removeLicenses. This graph endpoint to assign license can also be called from a Flow.
Summary: You can also use a HTTP request trigger in the Flow for integrating with other applications. On next post I will write about creating account in On-premise Active Directory. Hope you find this post useful & informational. Let me know if there is any comments or feedback below.
