
In a modern SharePoint site you can create custom themes using PowerShell, REST API & CSOM. In this blogpost I will show you how to create themes using PowerAutomate. The following REST endpoints are available
- http://<site url>/_api/thememanager/AddTenantTheme
- http://<site url>/_api/thememanager/DeleteTenantTheme
- http://<site url>/_api/thememanager/GetTenantThemingOptions
- http://<site url>/_api/thememanager/ApplyTheme
- http://<site url>/_api/thememanager/UpdateTenantTheme
There is an online Theme Generator tool that you can use to define new custom themes. At the time of writing this post, the endpoints are open to everybody & not just to the SharePoint tenant admins which seems to be quite buggy. Laura Kokkarinen has written a very detailed blog post about this topic. I’ve got the inspiration to write about this topic from John Liu who has recently recorded a video about this. Find screenshot from the Theme generator tool:
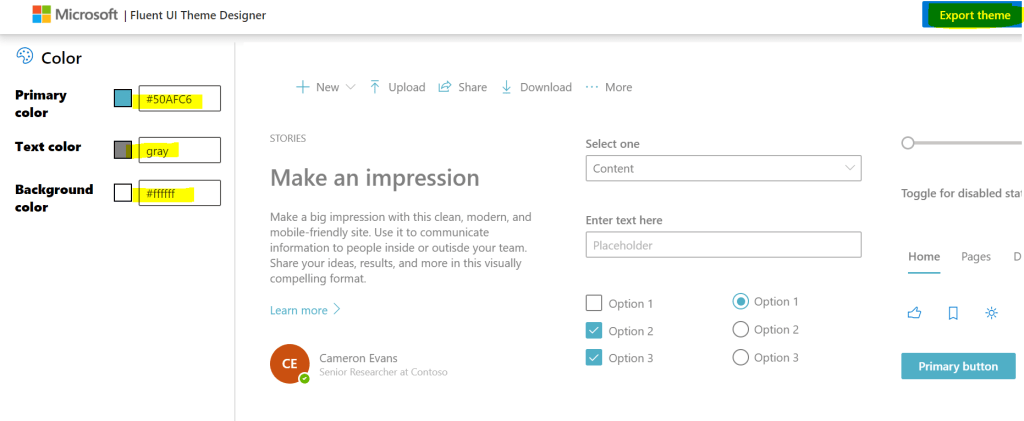
Once you have defined the theme from the tool, click on the Export theme button on the Right top corner of the tool to export the theme as a code block in JS, JSON & PowerShell. In this case, click JSON & Copy the generated block
{
  "themePrimary": "#50AFC6",
  "themeLighterAlt": "#f7fcfd",
  "themeLighter": "#def1f6",
  "themeLight": "#c3e6ee",
  "themeTertiary": "#8ecddd",
  "themeSecondary": "#61b8ce",
  "themeDarkAlt": "#489eb3",
  "themeDark": "#3c8597",
  "themeDarker": "#2d626f",
  "neutralLighterAlt": "#faf9f8",
  "neutralLighter": "#f3f2f1",
  "neutralLight": "#edebe9",
  "neutralQuaternaryAlt": "#e1dfdd",
  "neutralQuaternary": "#d0d0d0",
  "neutralTertiaryAlt": "#c8c6c4",
  "neutralTertiary": "#d9d9d9",
  "neutralSecondary": "#b3b3b3",
  "neutralPrimaryAlt": "#8f8f8f",
  "neutralPrimary": "gray",
  "neutralDark": "#616161",
  "black": "#474747",
  "white": "#ffffff"
}
Flow for Creating or adding the Theme to the tenant:
Let’s create an instant flow with trigger Manually trigger a flow to add a theme to the tenant. Add two Compose actions as shown below
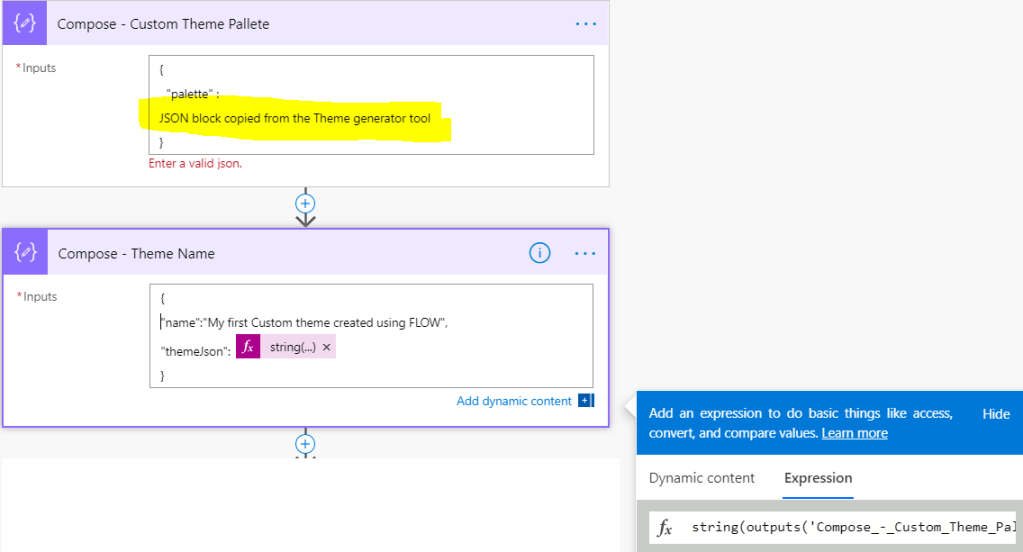
The first compose action is the actual definition copied from the theme generator tool
{
  "palette" :
JSON block copied from the Theme generator tool
}
The second compose action has the name of the theme & its stringified JSON from the output of the previous compose action. To convert the JSON to string add a string expression on the dynamic content pane
{
"name":"My first Custom theme created using FLOW",
"themeJson": @{string(outputs('Compose_-_Custom_Theme_Pallete'))}
}
Now add the action Send an HTTP request to SharePoint with the following parameters
Site Address: https://domain.sharepoint.com/sites/sitename
Method: POST
URI: /_api/thememanager/AddTenantTheme
Headers:
Key: Accept
Value: application/json;odata.metadata=minimal
Body: Output of the Second compose action (Compose – Theme Name)
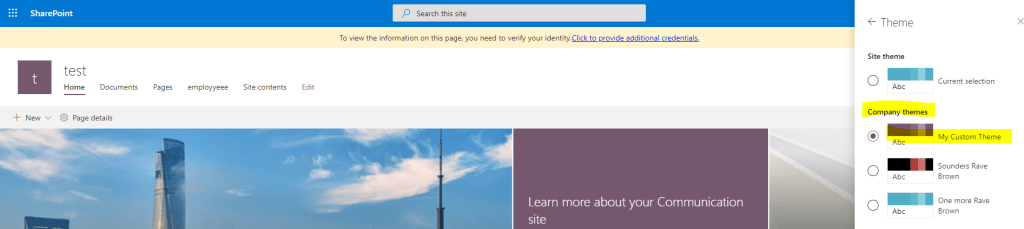
Now you are ready to test the flow. Once its successful you can apply the custom theme to the site
For deleting the theme, add the action Send a HTTP request to SharePoint with the following parameters
Site Address: https://domain.sharepoint.com/sites/sitename
Method: POST
URI: /_api/thememanager/DeleteTenantTheme
Headers:
Key: Accept
Value: application/json;odata.metadata=minimal
Body: { “name”:”the name of your custom theme” }
Summary: Hope you find this post useful & informational. Let me know if there is any comments or feedback below.
