Most of us would have used PowerShell for SharePoint to manage SharePoint settings at the organization level and site collection level. SharePoint Online PowerShell commands are very efficient for batch operations for e.g creating multiple sites, list items etc. To use the SharePoint Online PowerShell commands
- You must have the SharePoint Admin role or Global Administrator role in Office 365
- Install the SharePoint Online Management Shell module
As you know you must be administrator to install a PowerShell module on your workstation which not everyone will have in corporate environments.
I often use a PowerShell script to enable App Catalog at a site collection level to test the PnP webparts & extensions before deploying at the tenant level app catalog based on requirement. If you are not an SPO admin then the dependency is with the SPO admin. In this blogpost I am going to show you how to automate this process by executing PowerShell script to enable App catlog in Azure using Power Automate.
Pre-requisite & permissions:
- SPO Admin
- Azure Subscription to create Automation account
- Access to Premium connector (Azure Automation) in Power Automate
- SharePoint List to collect details about the site which needs to have App catalog enabled
To complete this automation process, create the following two components
- Automation account in Azure with a Run Book to execute PowerShell script for enabling App Catalog in SP site
- Power automate flow to call the Run Book
Automation account in Azure with a Run Book to execute PowerShell script for enabling App Catalog in SP siteAutomation service in Azure is a cloud-based automation and configuration service that supports consistent management across your Azure and non-Azure environments. Go through the documentation from Microsoft to know about this powerfull service in Azure. Let’s use the service in Azure to create a simple Runbook with PowerShell code to enable App catalog in SPO site, you can do much more than this using this service. Refer to this link for the pricing details for the automation service in Azure.
Step 1: Go the Azure portal & create a resource Automation

Enter the name of the automation account, select the Subscription & resource group & click Create

Step 2: After the resource is created, go to the resource & click Modules Gallery under the section Shared Resources as shown below to add the PS SPO module
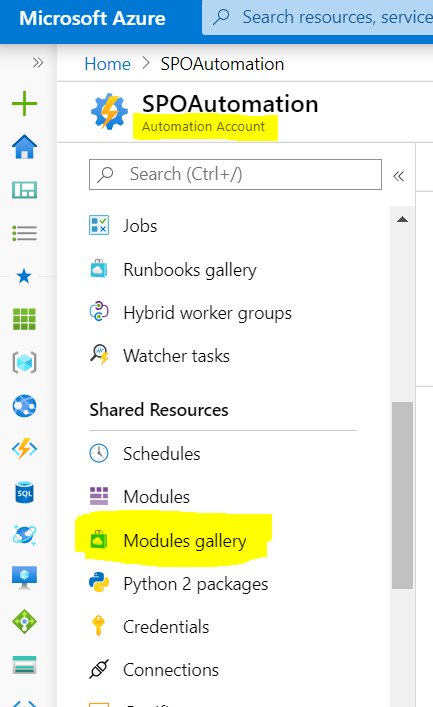
Search with the keyword “SharePoint” & click “Microsoft.Onlie.SharePoint.PowerShell” and then click Import. This step will the add the SharePoint online PowerShell module for us to use the available PS SPO cmdlets in Runbook.

Now click modules & verify if the SPO PowerShell is added & available.
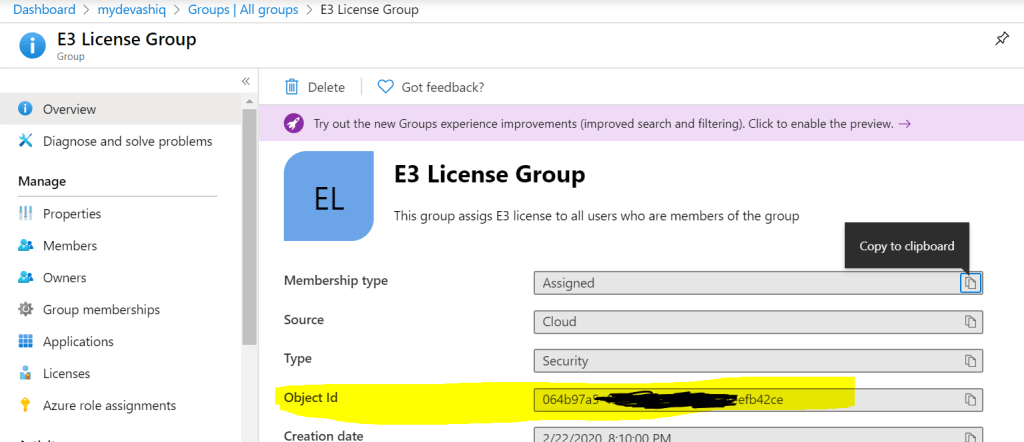
Step 3: The next step is to add the user credentials (Username & Password) of the SPO admin which is safe & secure by not hardcoding the password on the Runbook. You can also use certificates or AppID AppSecret in PnP online Powershell for creating connection to SPO.

Step 4: Now we are good to create the Runbook, to create it click Runbooks under the section Process Automation and then click Create a runbook. Enter the Name of the Runbook, select the Runbook type to PowerShell and click Create.

Now let’s add the code by editing the runbook to enable app catalog. The section Dynamic Parameters on the code will be passed from flow. To connect to SharePoint Online we are using the SPO admin credentials created in the previous step. Find the code below
# Dynamic Parameters
param(
  [parameter(Mandatory=$true)]
  [string]$SiteURL = "https://domain.sharepoint.com/sites/contosoportal",
  [parameter(Mandatory=$false)]
  [boolean]$enableAppCatalog = 1
)
# Credentials
$myCred = Get-AutomationPSCredential -Name "SPOAdminCred"
# Parameters
$AdminSiteURL = "https://domain-admin.sharepoint.com"
# Connect to SharePoint Online
Connect-SPOService -Url $AdminSiteURL -Credential $myCred
# Get the Site Collection
$Site = Get-SPOSite -Identity $SiteURL
# Enable App catalog
if($enableAppCatalog)
{Add-SPOSiteCollectionAppCatalog -Site $Site}
# Disable App catalog if false
else{Remove-SPOSiteCollectionAppCatalog -Site $Site}
# Get Site Collection Title
Write-Output $Site.Title
The runbook is now created, you can test the script by clicking on Test Pane & pass parameters (Site URL etc) to test it. Click Publish button as shown below to publish so that it can be called from Power Automate. It’s now time to create the flow

Power automate flow to call the Run Book
You can now create a flow with automated trigger from a SharePoint list to get the site url & Boolean value either to enable or disable the app catalog on the site. Here I will be using an Instant flow with trigger “Manually trigger a Flow”
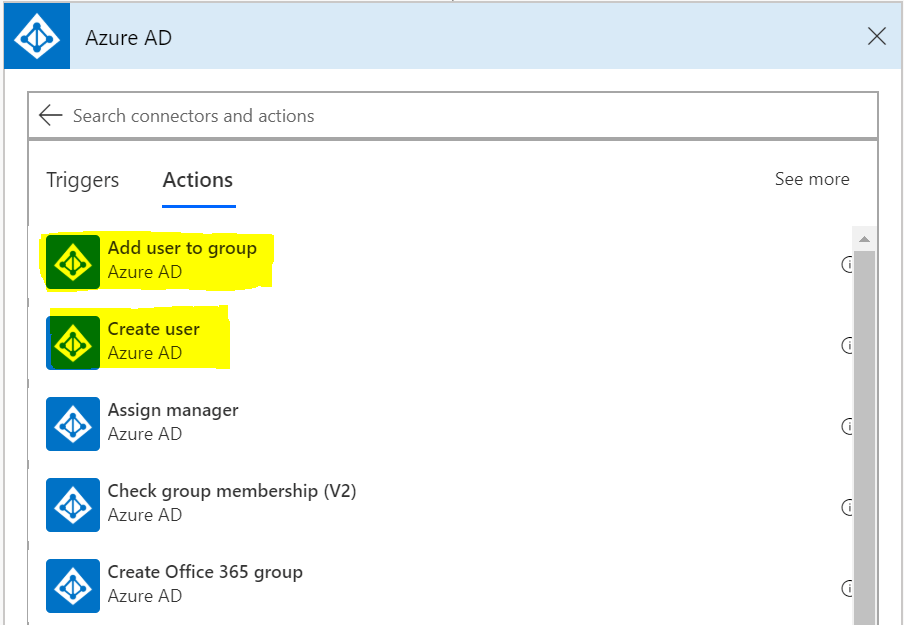
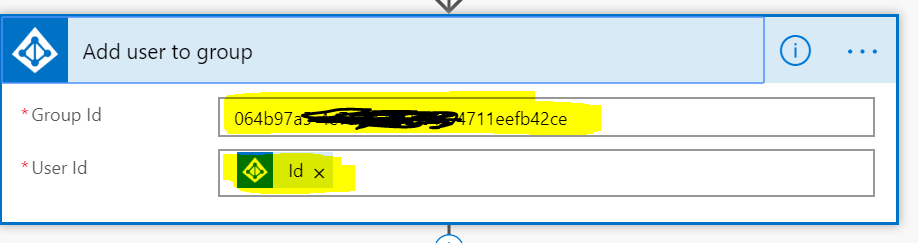
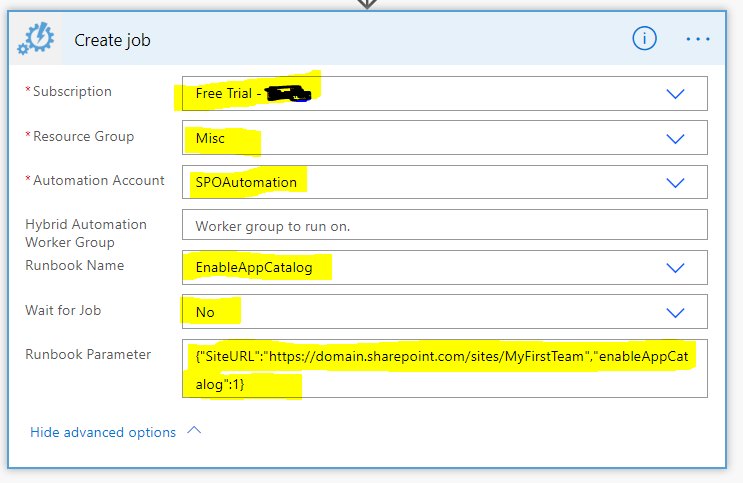
Once the flow is created, add the action “Create Job” under the connector “Azure Automation” which is a premium connector.

Select the Azure Subscription which has the Automation account resource with runbook>Select Resource Group>Select Automation Account>Select the Runbook name which has PS script to enable app catalog. If there is a need to wait until the automation job completes then select Yes on the field “Wait for Job”. For the dynamic parameter, write a JSON to pass the mandatory & optional parameters to the runbook script. On this example I will be passing the Site URL & Boolean value to either enable or disable app catalog using JSON as below
{
  "SiteURL": "https://domain.sharepoint.com/sites/MyFirstTeam",
  "enableAppCatalog": 1
}
If using a SharePoint list, construct the above JSON dynamically with the URL
For the runbook parameters, you might also get an interface as shown below to pass the values (Site Url & enableAppcatalogbooleanvalue).

The flow is ready, run it to test now with parameters.
Summary: The use case I’ve chosen is a simple one but azure automation can be a more powerful service to perform various automation tasks. Find few below
- Write Python script in the Runbook
- Many samples are available within the Runbook gallery (Create AD user, Display All provisioned site collections etc) under the section Process automation.
- With the PowerShell type Runbook all the PS modules (Azure AD for automating AD account creation, PNP SP Online etc) are readily available for us to import easily.
- There is a feature by name “Hybrid Runbook Worker Feature” available within Azure Automation account for us to connect Onpremise resources in Azure (e.g SharePoint Onpremise, Onpremise AD etc).
- Create a Webhook to call the runbook from an External application by making a POST call
- Call a custom built dll by importing them in to the Modules section
- Create graphical Runbook with GUI to add cmdlets & to configure the steps
- Create schedule linking a runbook
Hope you have enjoyed reading this post and find it useful. If you have any comments or feedback, please provide it on the comments section below.