Has there been a requirement or a need to change the owner/creator of the PowerApps or a Flow built by your organizational users? There could be various reasons for this request
- App/flow creator would have left the organization
- App/flow creator would have changed role within the organization
- Handing over the app to the operations team…
By the time I am writing this post there are no Powershell command or actions available in Flow/PowerApp to change the original Owner of the flow but still you would be able to assign a Owner for the flow created by an user who has left the Organization from the Flow Admin center, I will cover the steps on this post. The good news is Microsoft has plans to release this feature as per this user voice request.
Prerequisite: Environment Admin or Power Platform Admin
Change the Owner of a Power App:
There are different ways to change the Owner of Power Apps using
- Power Shell
- Flow
- Power App
PowerShell cmdlets for PowerApps:
There is a PowerApps cmdlet for Administrators Set-AdminPowerAppOwner which allows you change the Owner of the App
Prerequisite: The following modules should be installed. It requires Administrator access on the workstation to install the modules
Install-Module -Name Microsoft.PowerApps.Administration.PowerShell
Install-Module -Name Microsoft.PowerApps.PowerShell -AllowClobber
If you don’t have admin access, then you can import the modules to your workstation using the following commands
Save-Module -Name Microsoft.PowerApps.Administration.PowerShell -Path
Import-Module -Name Microsoft.PowerApps.Administration.PowerShell
Save-Module -Name Microsoft.PowerApps.PowerShell -Path
Import-Module -Name Microsoft.PowerApps.PowerShell
Power Shell cmdlet for changing the Owner:
# This call opens prompt to collect credentials (Azure Active Directory account and password) used by the commands
Add-PowerAppsAccount
Set-AdminPowerAppOwner -AppName '6aac46a2-a0f3-43f3-a2fb-51111785437c' -AppOwner '4cea7f11-c013-4bee-a6d1-ae3381a7f386' -EnvironmentName 'Default-2r6e8761-108d-417e-9bb4-e7c4e3ba2e23'- EnvironmentName is the environment of the PowerApp you would like to change the Owner. To get the environment name, the powershell command will help Get-PowerAppEnvironment
- App Name is the App ID of the PowerApp. To get this information run the command Get-PowerApp ‘Name of the powerapp’
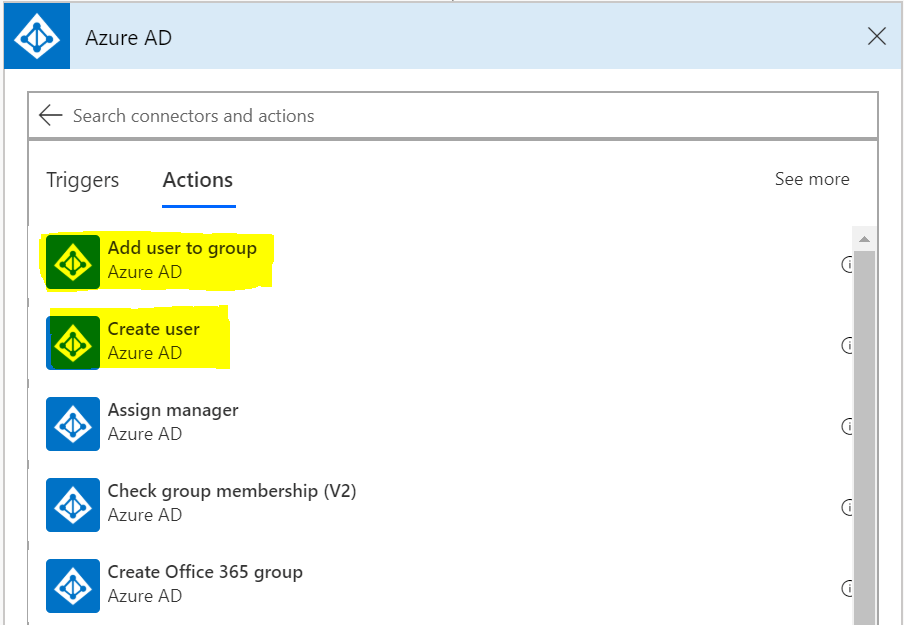
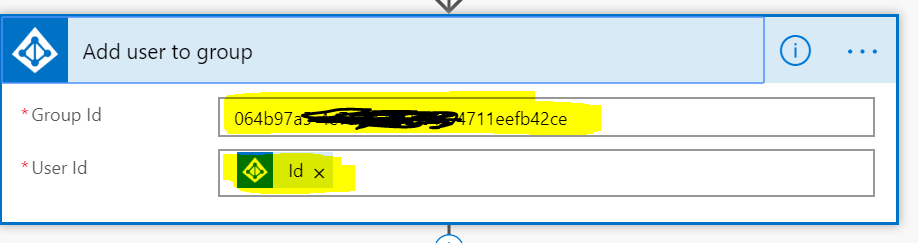
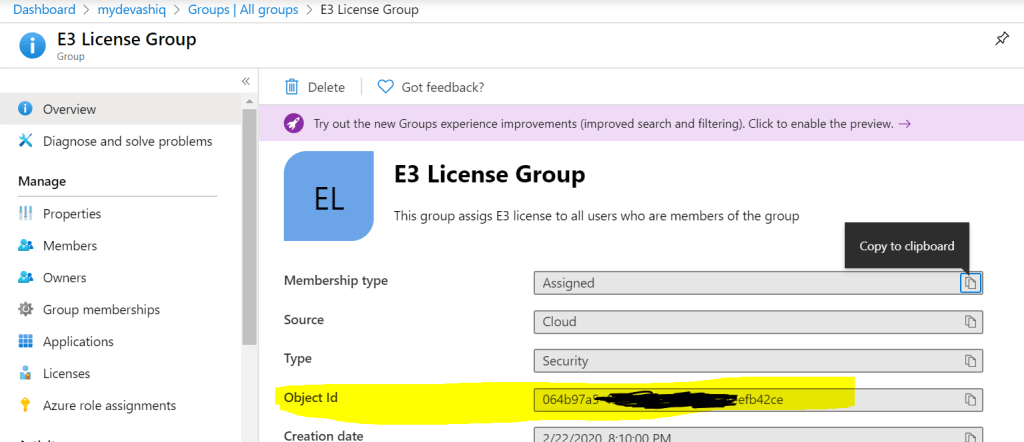
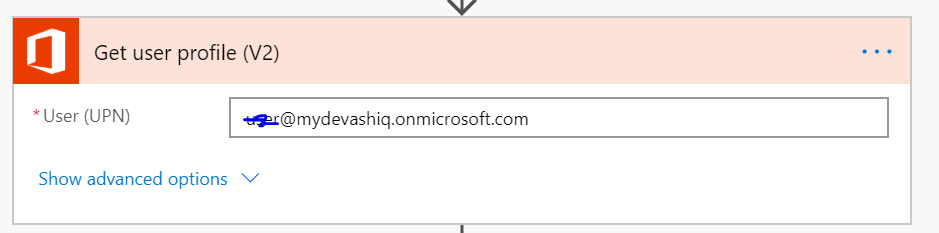
- AppOwner is the Azure Active directory object id of the new Owner. It is the Unique id of the user in the tenant, you can get this information in multiple ways. To get it from flow, the following action would help. The outputs of this action should have the attribute Id which is the id of the user to be passed on the Powershell command.
The old owner will get viewer access to the app but you can get it changed if required. For other Powershell cmdlets for PowerApps & flow refer this article from Microsoft.
PowerShell Tip:
To get help on any Power shell cmdlet, type Get-Help cmdletname (e.g get-help Set-AdminPowerAppOwner). To get some examples type get-help Set-AdminPowerAppOwner -examples
PowerApps for Admin Connector in Flow:
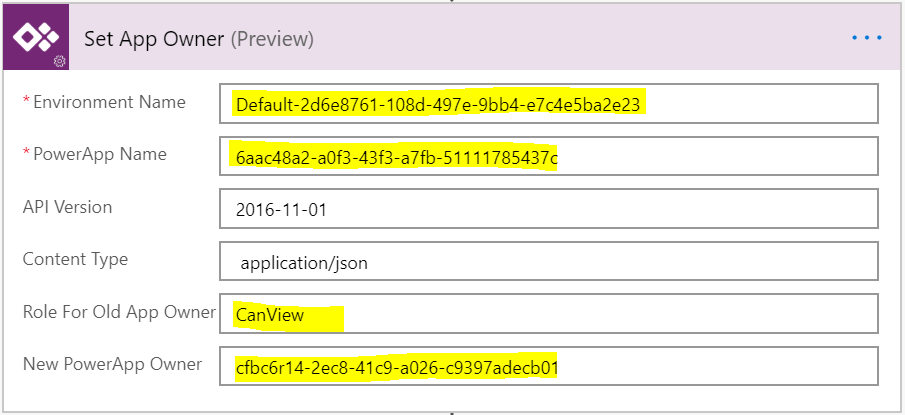
There is a preview action by the name “Set App Owner” under the connector PowerApps for admin which also helps you to change the owner of the PowerApp
PowerApps for Admin Connector in PowerApp:
The same connector used in the flow can also be used in PowerApp to change the owner for the powerapp. There is a Powerapps tool Connector Browser Tool from Microsoft to test the PowerApps for Admin connector which can be used to change the Owner of the app. The app is available as a package for download from this link, the link to the blogpost from Microsoft. You can select any actions, after entering values for the parameters click Submit.

You can test connector for Flow as well on this tool.
Assign a new Owner to a Power Automate Flow:
A new Owner can be assigned to an existing Power Automate flow by using the
- PowerShell cmdlets for Makers & Admins
- Power Automate Admin Center
Assign an Owner for a Flow created by an user who has left Organization by using PowerShell:
After installing the PowerShell module for PowerApps cmdlet for Administrators, enter the following command to get the Object ID of the user who created the flow
Connect-AzureAD
Get-AzureADUser -ObjectID username@yourorgname.com | Select-Object ObjectId
Establish a connection to use the Power cmdlets by entering the following command which opens a prompt to collect credentials (Azure Active Directory account and password of Power Platform Administrator or Global Admin)
Add-PowerAppsAccountAfter copying the ObjectId of the user, enter the following PowerShell command Get-AdminFlow to get all the flows created by the user
Get-AdminFlow -CreatedBy userObjectIdThe above command provides you the information of the Flow details. Copy the FlowName in GUID format and EnvironmentName. Now to assign a new Owner, enter the Set-AdminFlowOwnerRole command after changing the userObjectId, flowNameGUID and the environmentGUID
Set-AdminFlowOwnerRole -PrincipalType User -PrincipalObjectId userObjectId -RoleName CanEdit -FlowName flowNameGUID -EnvironmentName environmentGUIDIf you get a 200 OK then the new owner is assigned to the Flow. You can also remove an Owner by the following command, the only catch is you will not be able to remove the creator of the flow
Assign an Owner for a Flow created by an user who has left Organization by using the Admin Center:
This can be done by connecting to the Flow Admin center, click the environment which has the flow

Click resources & then click Flows
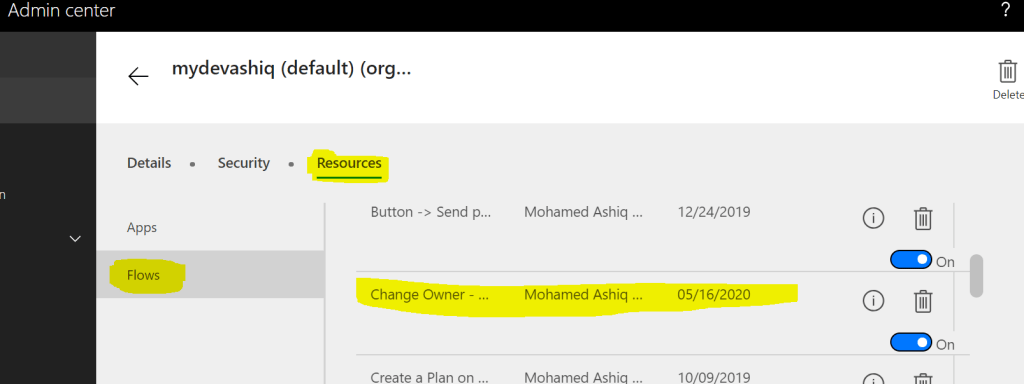
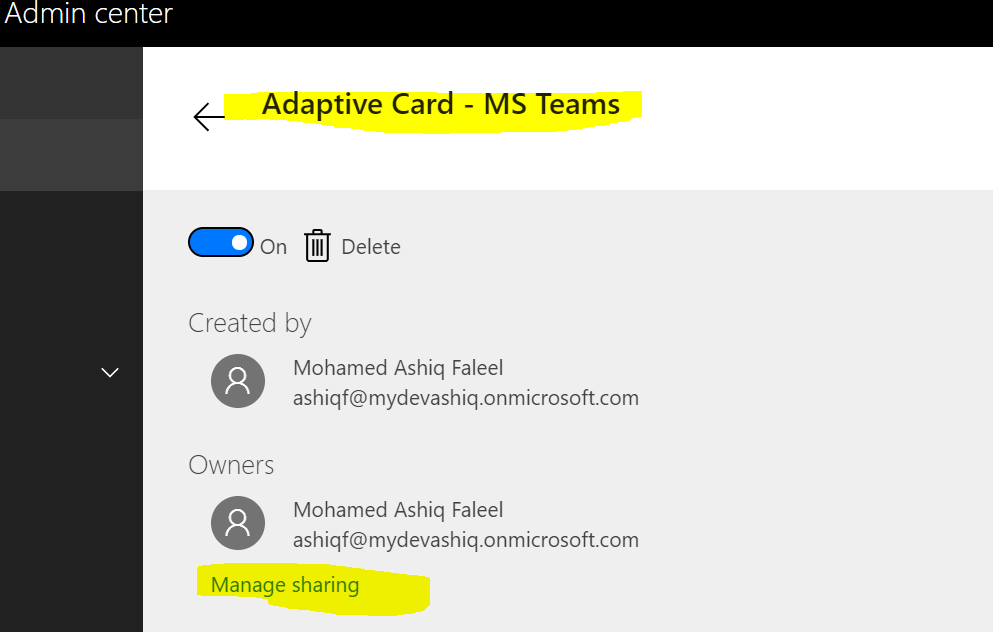
Then look for the flow which needs the update, click the flow & click Manage sharing to add Owner
You can also export the flow as a package & then recreate it to have a new Owner. Follow this blogpost from Microsoft.
Summary: On this post, I’ve covered different ways to update the owner for PowerApps & Flow using Powershell & Admin connector in Flow & PowerApps. Hope you find this post useful & informational. Let me know if there is any comments or feedback below.