Power Platform already gives you a rich set of out-of-the-box triggers across connectors – from Outlook and Teams to SharePoint and Dataverse. For many scenarios, these built-in triggers are more than enough to automate workflows.
But what if you need finer control, broader coverage, or access to events that aren’t exposed as triggers yet?
That’s where Microsoft Graph change notifications (webhooks) come in.
Microsoft Graph unlocks an even wider universe of events across Microsoft 365, often going beyond what’s available OOB in connectors and lets you subscribe to them in a scalable, event-driven way.
Now combine that with Copilot Studio…
What if your Copilot Studio agent could wake up and act on its own, triggered by real-time events happening across Microsoft 365?
This is exactly where Microsoft Graph change notifications (webhooks) and Power Automate’s HTTP trigger + Copilot Studio connector come together beautifully.
The Big Idea
At a high level:
Microsoft Graph detects a change → sends a webhook → Power Automate receives it → triggers Copilot Studio agent
Instead of polling APIs, we let events drive execution.
Microsoft Graph supports change notifications via webhooks – meaning your app gets notified whenever something changes (like emails, Teams messages, SharePoint items, etc.).
Why this approach matters
Polling is expensive. Inefficient. And honestly… outdated.
With change notifications:
- Near real-time triggers
- No constant API calls
- Lower cost and better performance
- Perfect for autonomous agents
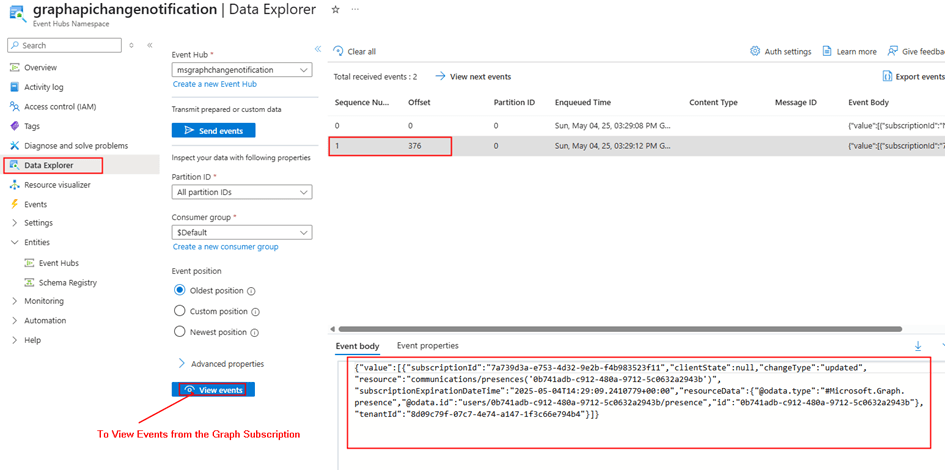
Graph sends an HTTP POST to your endpoint whenever a subscribed resource changes.
And guess what? That endpoint can be Power Automate.
Architecture Overview
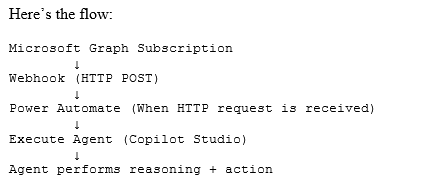
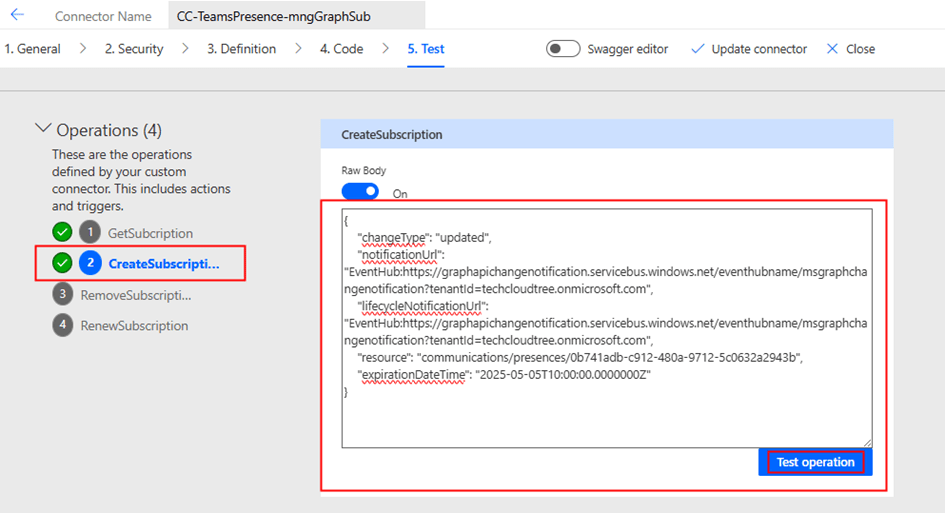
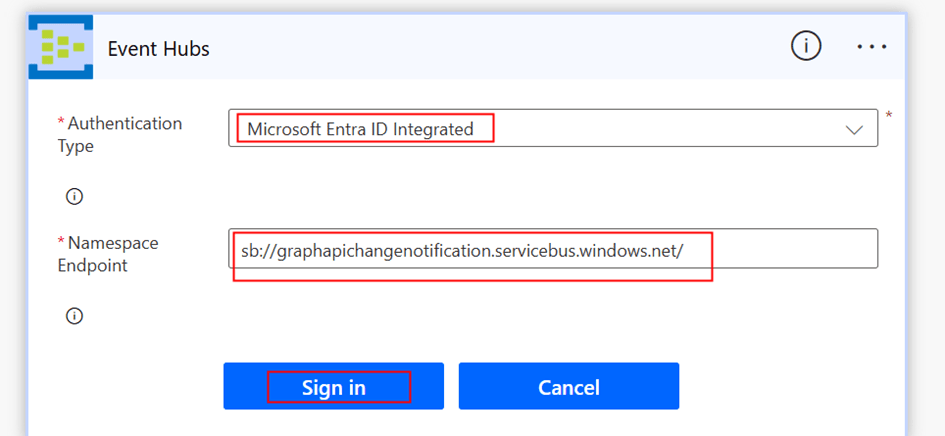
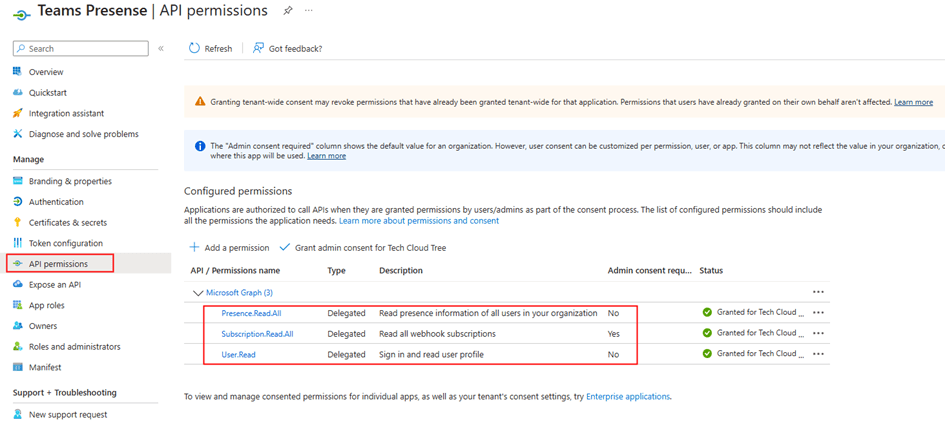
Step 1: Subscribe to Microsoft Graph Change Notifications
Microsoft Graph allows you to subscribe to a wide variety of resources:
- Outlook messages
- Teams chats
- SharePoint lists
- Users / Groups
- Calendar events
…and many more.
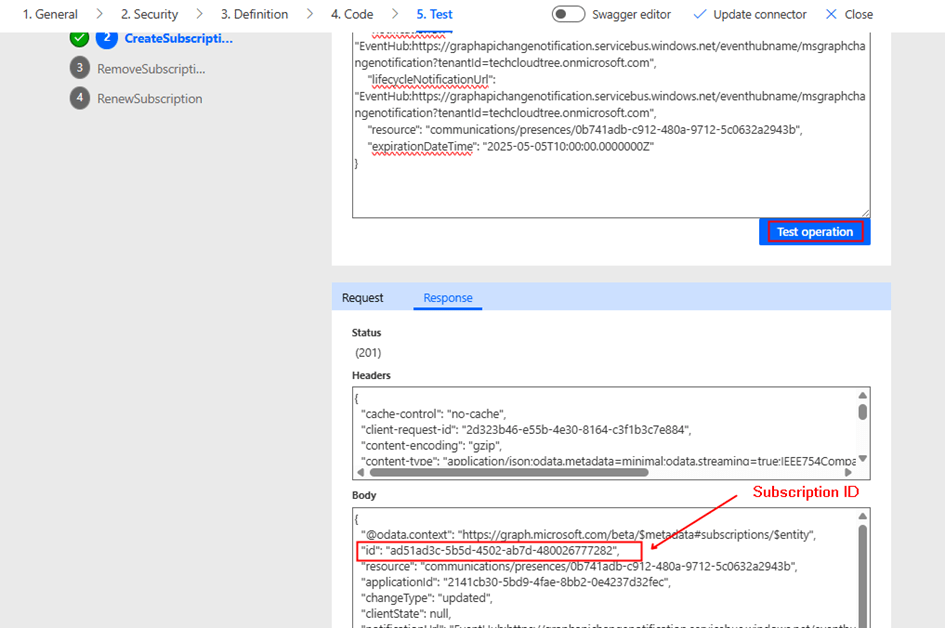
When you create a subscription:
- You provide a notification URL (your webhook)
- Graph validates it using a validation token handshake
- Once validated, Graph starts sending change notifications
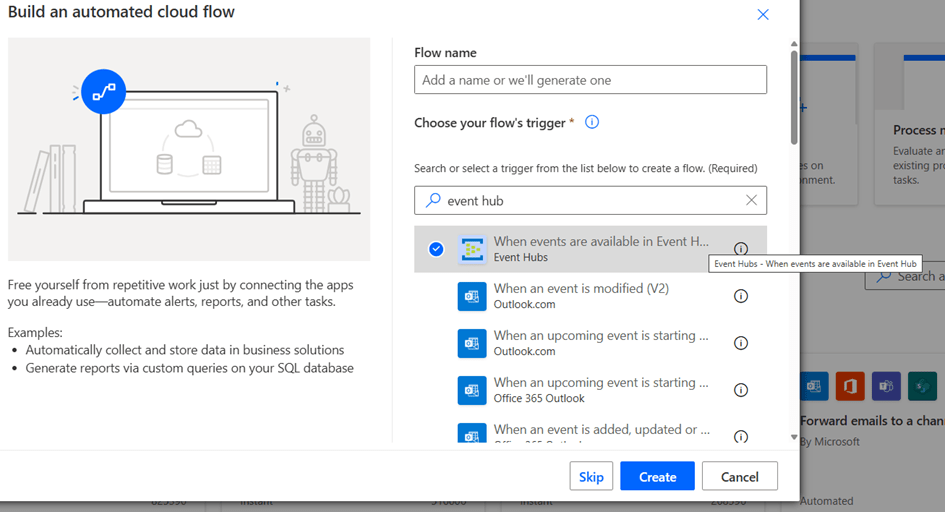
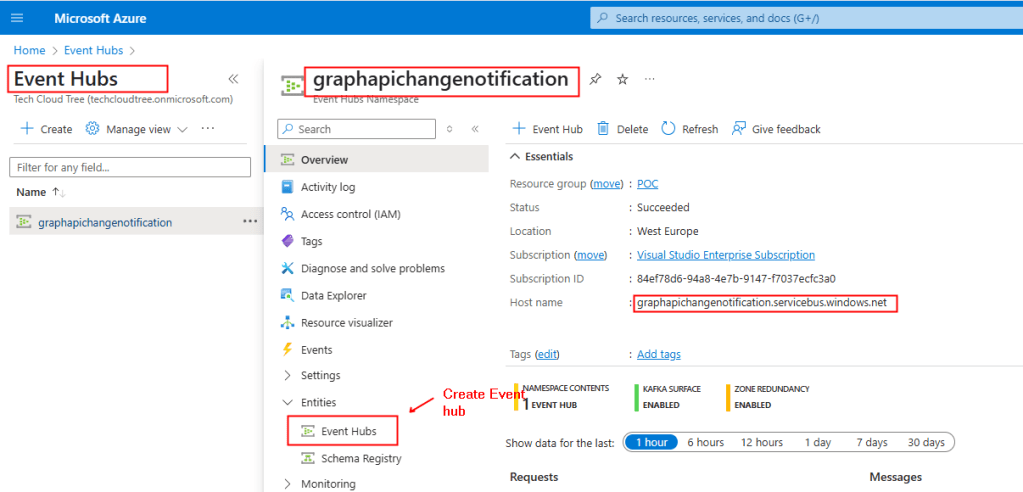
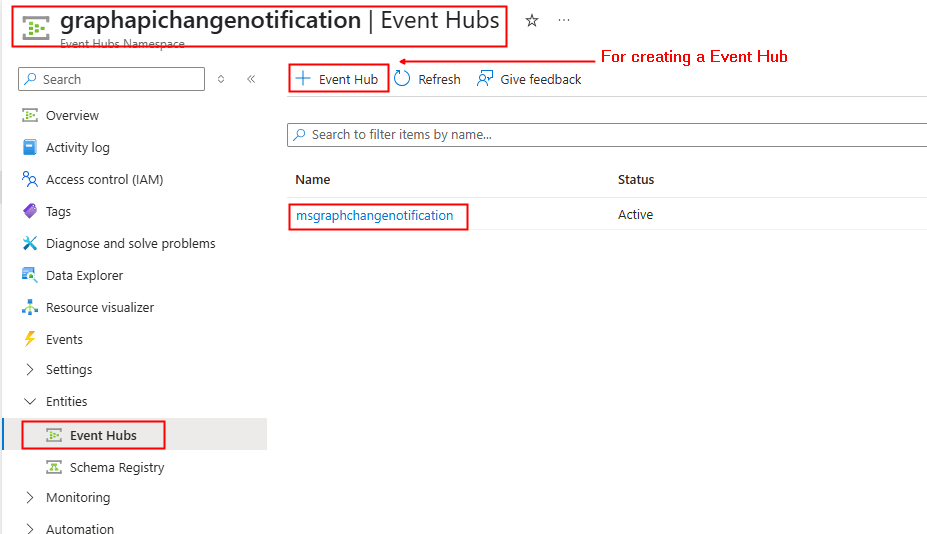
Step 2: Use Power Automate as the Webhook Endpoint
Instead of building an API, just use:
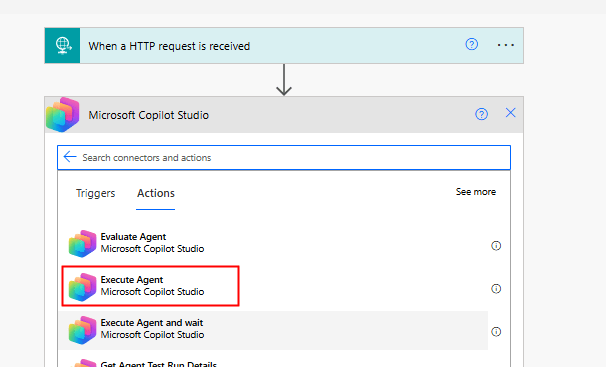
Trigger: When a HTTP request is received
Power Automate gives you:
- A publicly accessible HTTPS endpoint
- Built-in scaling
- Easy JSON parsing
You can directly paste this URL into your Graph subscription.
Step 3: Execute Copilot Studio Agent
Once your flow is triggered, you can invoke your agent using:
Copilot Studio Connector → Execute Agent
(As shown in your screenshot 👇)
This action allows you to:
- Pass dynamic input (from Graph payload)
- Trigger reasoning
- Let the agent decide what to do next
Putting it together
Example scenario:
A Teams message with keyword “urgent” → Agent analyzes sentiment → escalates to support queue
This is where Copilot Studio truly becomes event-driven intelligence.
Why this pattern is powerful
This approach unlocks a new design pattern:
Copilot as an event-driven micro-orchestrator
Instead of:
- User → App → Flow → Action
You now have:
- Event → Agent → Decision → Action
This is closer to how intelligent systems should behave.
Final Thoughts
We often think of Copilot Studio as something users interact with.
But the real power?
Agents that act without being asked
By combining:
- Microsoft Graph change notifications
- Power Automate HTTP trigger
- Execute Agent action
…you move from reactive apps to autonomous, event-driven systems.
If you’re already working with Power Platform, this is a pattern worth adding to your toolbox.
Do you like this article?
Subscribe to my blog with your email address using the widget on the right side or on the bottom of this page to have new articles sent directly to your inbox the moment I publish them.