In Power Platform, custom connectors make it easy to integrate with external APIs from Power Apps and Power Automate.
In my earlier articles, I explained how to call APIs using custom connectors with different authentication approaches:
- Calling Microsoft Graph API endpoints from Power Apps and Power Automate
- Using Service Principal authentication with application permissions for automation scenarios
While the above approach works well but it still requires client secrets or certificates to authenticate with Microsoft Entra ID.
Managing secrets introduces challenges:
- Secrets expire and must be rotated
- Secure storage is required
To address these challenges, Microsoft introduced Managed Identity authentication for custom connectors (Preview).
With this capability, custom connectors can access APIs without storing client secrets, significantly improving security and simplifying management.
In this article, we will explore how to configure Managed Identity authentication for a Power Platform custom connector. The approach works for any API secured with Microsoft Entra ID, and we will use Microsoft Graph as an example API.
Why Managed Identity?
Traditionally, Microsoft Entra Id protected APIs are accessed using:
- Delegated user authentication
- Service Principal or application user authentication
Both require secret management.
Managed Identity removes this requirement.
Key advantages include:
- No client secrets to manage
- Reduced security risks
- Native trust with Microsoft Entra ID
This approach aligns with modern secretless authentication patterns widely used in Azure services.
Authentication Architecture
When using managed identity authentication with custom connectors, the authentication flow looks like this:
Power Apps / Power è Custom Connector (Managed Identity Authentication) è Microsoft Entra ID
(Federated Credential Trust) è Target API (e.g., Microsoft Graph)
Instead of storing credentials, the connector uses federated identity trust to obtain access tokens from Microsoft Entra ID.
Step 1: Register an Application in Microsoft Entra ID
First, create an App Registration in Microsoft Entra ID.
Navigate to:
Azure Portal → Microsoft Entra ID → App registrations → New registration

Supported account types:
Single tenant
After creating the app, note the following values:
- Application (Client) ID
- Tenant ID
Managed identity authentication currently supports single-tenant applications.
Step 2: Configure API Permissions
Add the required permissions depending on the API you are accessing.
Since we are using Microsoft Graph as an example, we have left it with the default delegated permission:
- User.Read
Grant Admin Consent if required depending on the permissions you have added.

Step 3: Create a Custom Connector
Navigate to the Power Apps or Power Automate Maker Portal.
Create a new connector:
Custom Connectors → New Custom Connector → Create from Blank
Provide a connector name such as:
Managed Identity API Connector
In the General tab configure the API host.
Example for Microsoft Graph:
Host: graph.microsoft.com
Base URL: /
If you are connecting to another API, replace these values with that API’s endpoint.
Step 4: Configure Managed Identity Authentication
In the Security tab.
Authentication Type: OAuth 2.0
Identity Provider: Azure Active Directory
Provide:
Client ID → Application ID of your App Registration
Secret Options → Managed Identity (Preview)
Authorizations URL → https://login.microsoftonline.com
Tenant ID → Your tenant GUID
Resource URL → https://graph.microsoft.com/
Scope → User.Read

Click Create connector.
After the connector is created, Power Platform generates two important values:
- Redirect URL
- Managed Identity

These represent the identity of the connector.
Step 5: Configure Federated Credentials
Open the App Registration in Microsoft Entra ID. Add the Redirect url copied from the custom connector

Then Navigate to:
Certificates & Secrets → Federated Credentials
Add a new credential.
Choose: Other issuer
Provide the values generated from the connector:
Issuer → Issuer value from connector
Type → Explicit subject identifier
Subject → Subject identifier from connector
Credentials Details:
Name & Description: Any name representing your connector

Federated Identity Credentials (Sample):
Issuer: https://login.microsoftonline.com/xxxxx-yourtenand-id-xxxxxx/v2.0 Subject: /eid1/c/pub/t/xxxxxxx/a/xxxxxx/unitedstates-002_ms-20graph-20-2d-20no-20secret-5f820e575d611694-e6ed89f31466204d Audience: api://AzureADTokenExchange
This configuration establishes trust between the custom connector and the Entra ID application.
Once this trust is established, the connector can request access tokens without using a client secret.
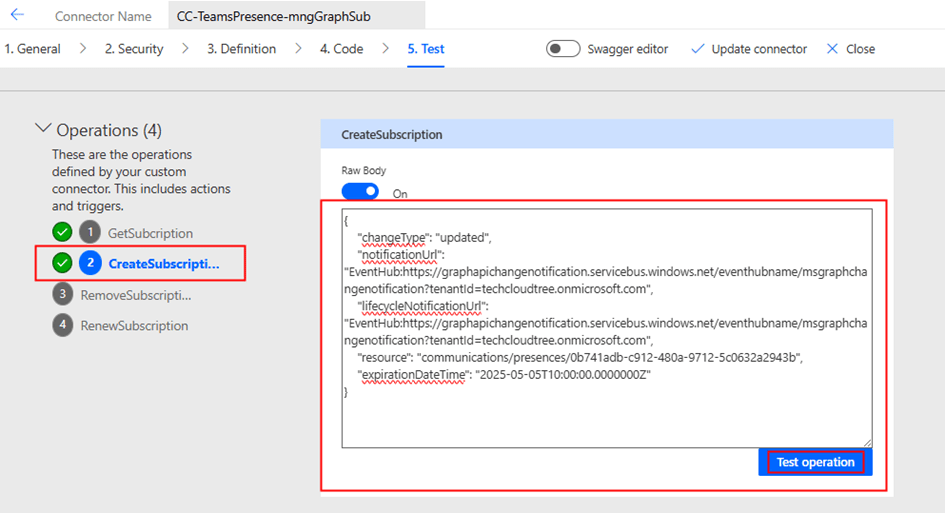
Step 6: Define API Actions
Now define actions in the Definition tab of the custom connector.
For the Microsoft Graph example, we will create an action to retrieve the current user profile.
HTTP Method: GET
URL: https://graph.microsoft.com/v1.0/me

You can define additional actions depending on the API endpoints you want to expose.
For other APIs, configure the corresponding endpoints.
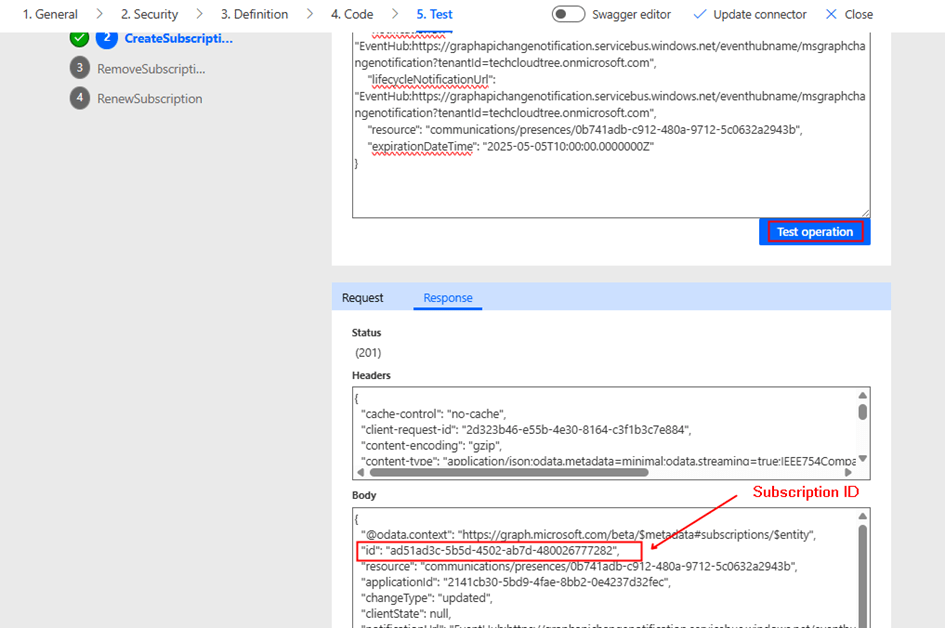
Step 7: Create the Connection
Navigate to the Test tab and create a new connection.
Unlike service principal authentication, you do not need to provide client secrets.
Power Platform will automatically authenticate using the managed identity configuration.
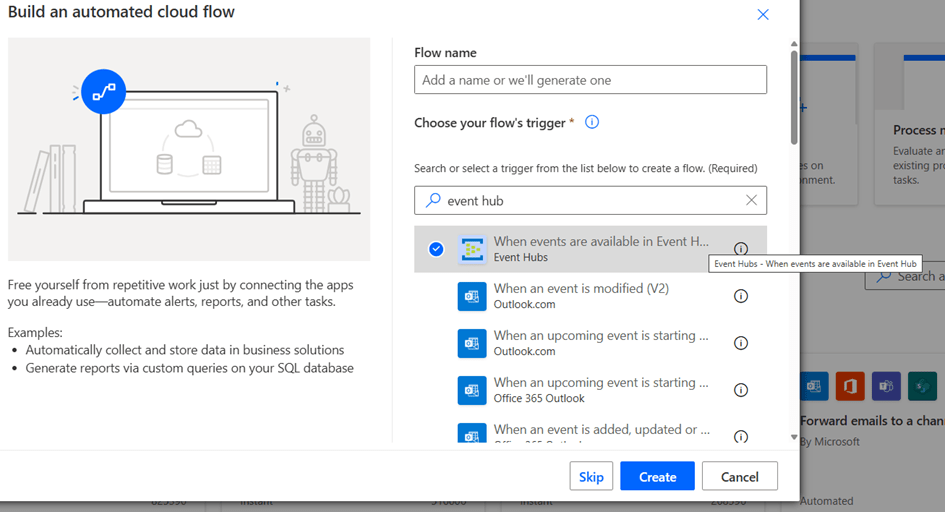
Step 8: Use the Connector
The connector can now be used from:
- Power Apps
- Power Automate
Benefits of Managed Identity for Custom Connectors
Using managed identity authentication provides several advantages:
Improved Security
No client secrets or certificates are stored in Power Platform.
Reduced Operational Overhead
No secret rotation or credential management.
Current Limitations
This capability is currently in preview
Summary:
Managed Identity authentication for Power Platform custom connectors enables secure, secretless access to APIs. Although we used Microsoft Graph as the example, the same pattern can be applied to any API secured with Microsoft Entra ID.
This approach simplifies security management and provides a cleaner architecture for enterprise Power Platform integrations.